Through the Looking Glass
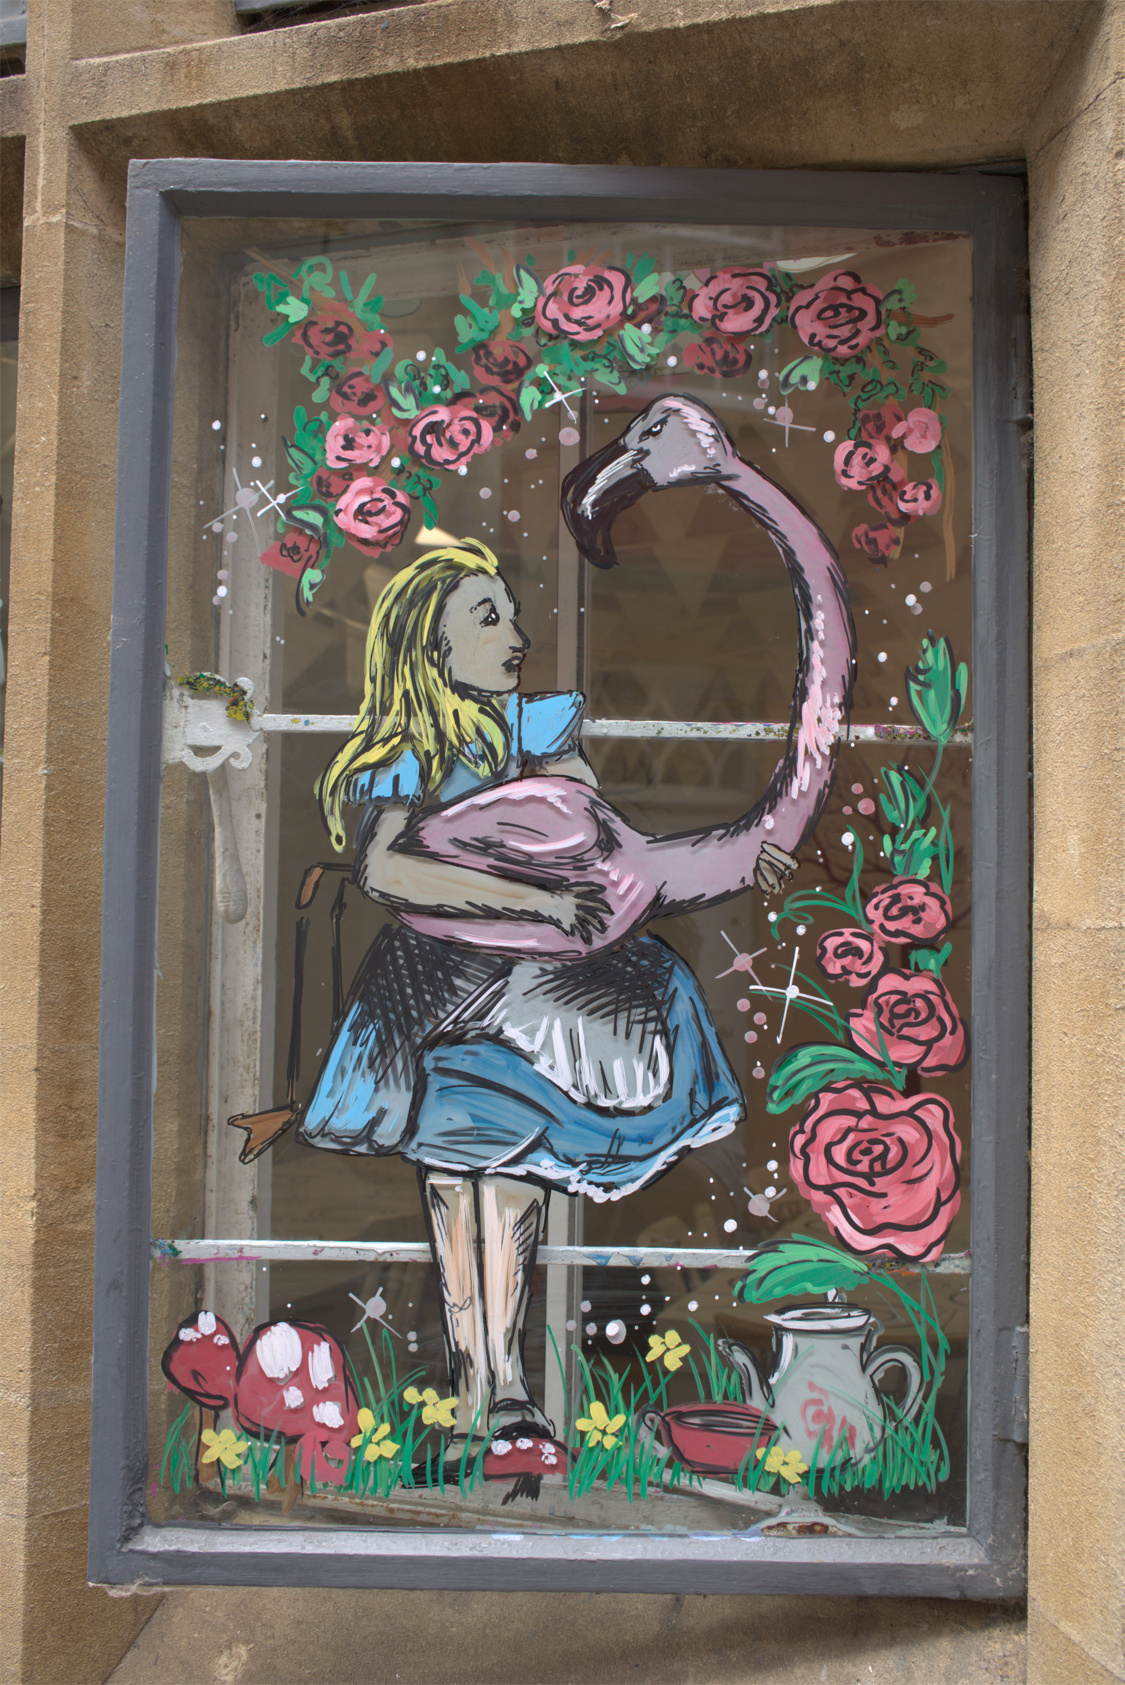
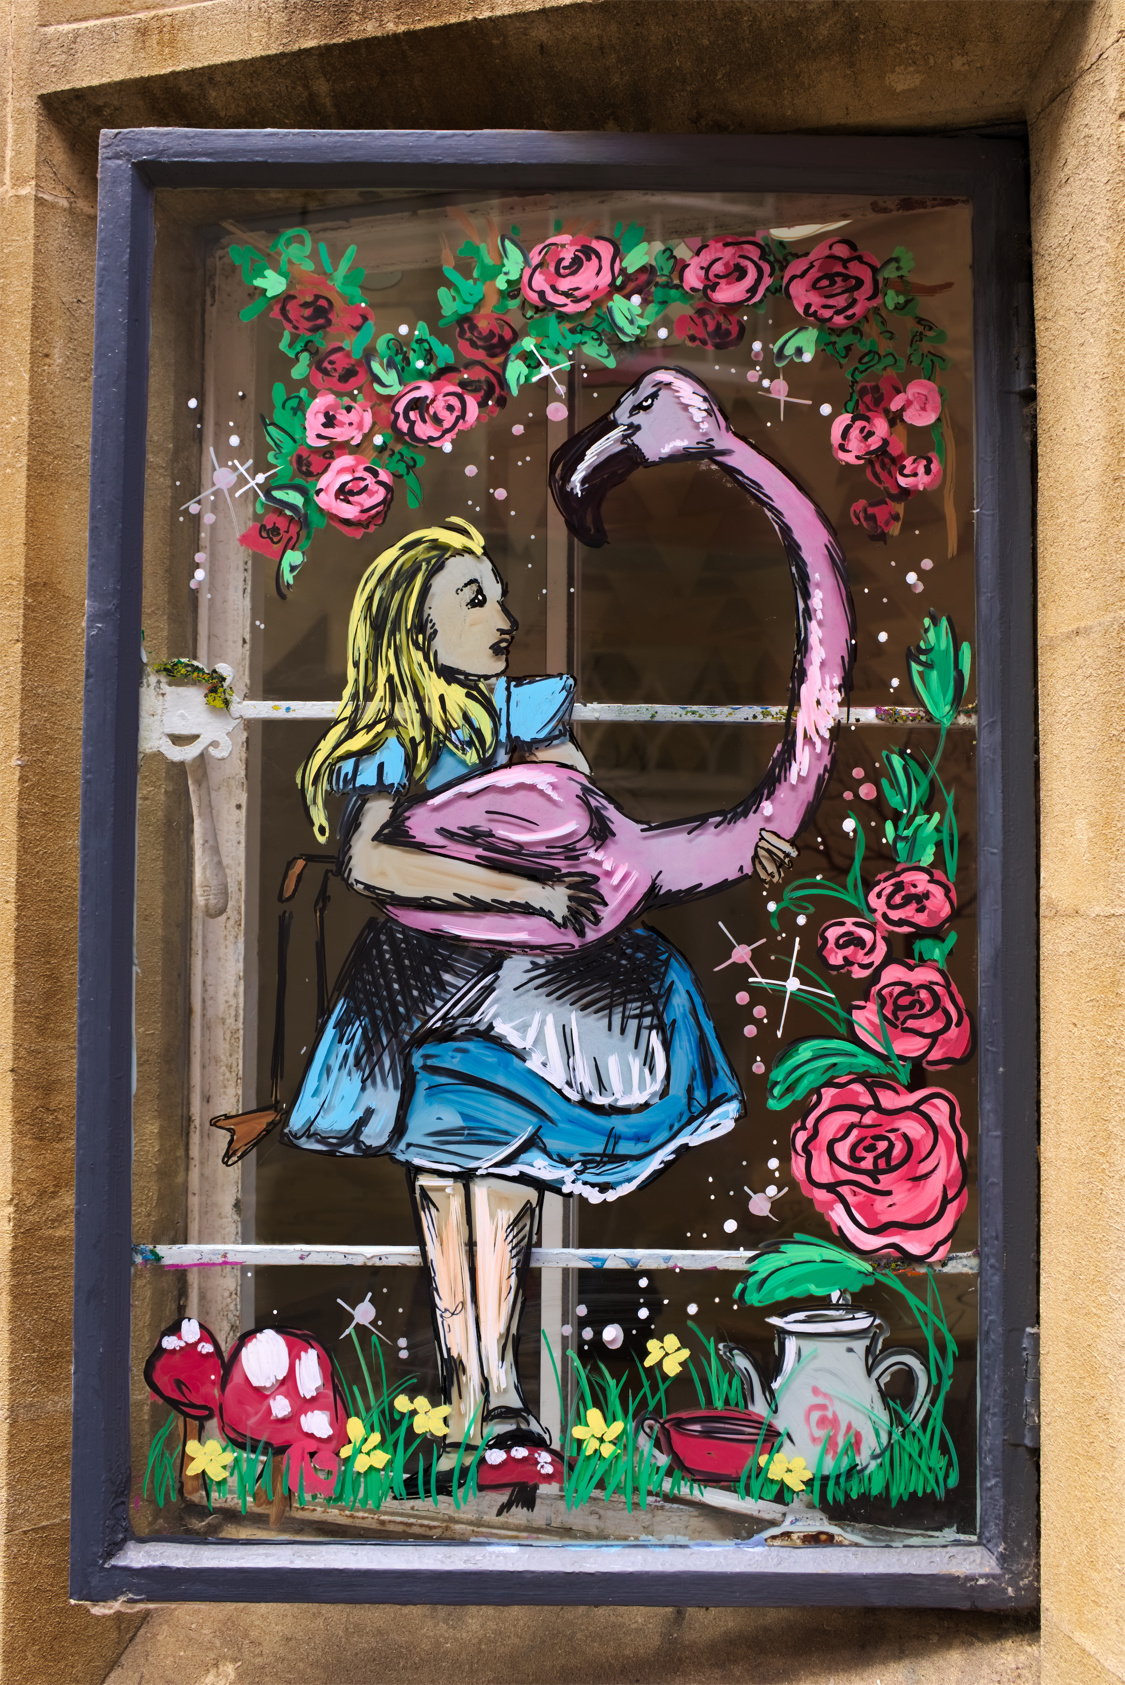
My new camera tagged along to a city visit a few weeks ago. I captured my usual mix of abstract architectural features, optimistic macro shots of blurry bugs and candid shots of my partner holding their camera, but I was most drawn to process this window painting of Alice (of Wonderland) holding a croquet flamingo.
Capturing#
It has been several years since I have had a proper camera and I am slowly retraining myself to be more a more intentional photographer than what my point-and-shoot hope-for-the-best phone camera has made me. I am primarily using Aperture priority, which gives me great control over the isolation between a subject and the background. However with great power comes great responsibility, and I’m frequently taking what I think are great pictures only to find later that the depth of field is a bit off. This has been particularly problematic wandering around town and having to make fast decisions, as my eye is not yet trained to guesstimate appropriate apertures.
This was very much a drive-by snap. I saw something that I thought had nice colour and a natural framing, and shot just once while barely stopping on a walk through an otherwise relatively unassuming street, so I was pleased to find this mural was in sharp focus when I loaded it in FastRawViewer.
Processing#
I began in RawTherapee with the straightforward pre-processing stuff:
- Set the Processing Profile to Neutral and apply Profiled Lens Correction, which is the “before” image in the comparison; followed up with Auto Levels Exposure and subsequent tweaking
- Crop to lose the distraction of the other building features in the top left and straighten out the window a touch
- Sharpening to punch up the mural and stonework, and the corresponding Noise Reduction to counter the sharpening and remove artifacts from reflections
- Defringe to remove magenta and cyan aberrations along the window frame edges
Then for artistic license:
- Vignette Filter to counter some of the brightness of the surrounding stone and draw the viewer a little more inward
- Increase Exposure Blacks to bring out the penmanship of the mural and the darkness of the window frame
- Increase Exposure Saturation to emphasise those vibrant poster pens and contrast against the art further from the window frame and stone
- Increase Vibrance Pastels a touch to boost the colour in some of the mid-tones to keep up with the rest of the artwork
I was pretty happy with the processing of the mural, but was disappointed that Alice and the flamingo were not nicely isolated in the glass as much as I’d like. The reflections of the street opposite and the visible tables and chairs inside the room invade the negative space around Alice and draw attention away.
I watched a tutorial on RawTherapee’s Selective Editing tool and had success mitigating some of the reflections thanks to their obvious luminance against the otherwise featureless spaces around the mural in the window:
- Set up six spots across the worst reflections, using Spot shape Ellipse allowed me to awkwardly transform the shape of the spot to select distractions
- Reduced Highlights with maximum Strength and minimal Scope to fade the reflections
I also used Selective Editing to darken the window frame further to act more like a picture frame around Alice:
- Set up a new spot and select a point on the window frame and set the Spot method to Full image for edits to apply globally.
- Use Preview ΔE’s overlay mask to dial in the appropriate Scope setting and ensure edits only apply only to the window frame without affecting the rest of the image.
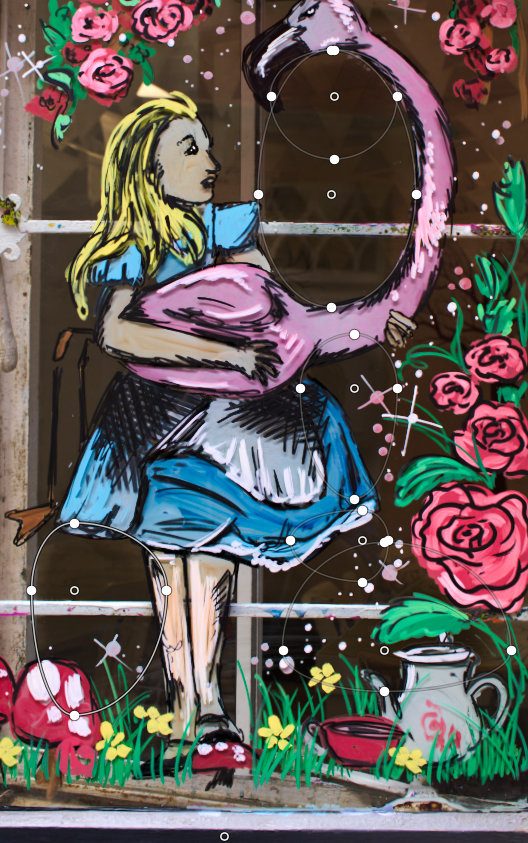
Selective edits have largely mitigated the impact of the reflections and distractions. The bunting, door and furniture are dark enough to let Alice breathe a bit.
I actually first exported the image at this point. However, as I was writing the alt tag, I could not take my eyes off the reflection of a yellow flag on the bunting1 just above Alice’s head. It is one of the brightest features on the histogram and leaves Alice looking like she has a triforce shard wedged in her hair. It was here that I made a fatal error, and tried to use Selective Editing to remove it. I spent more time than I am going to admit trying my best to push this tool to its limit, but all I could do was turn this yellow triangle into a still fairly obvious brown triangle.
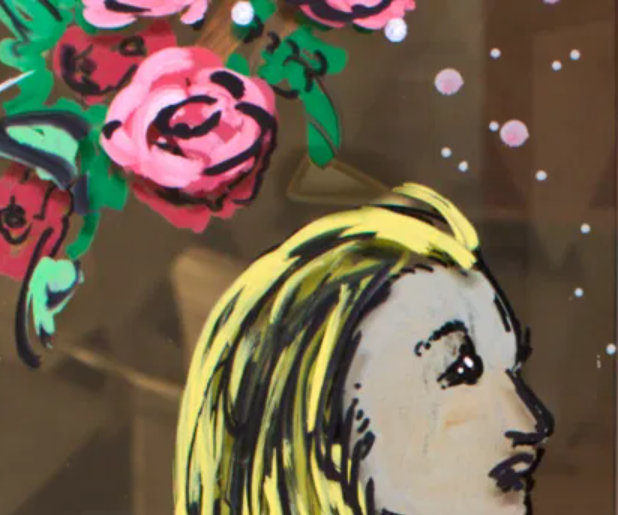
Selective Editing (at least in my hands) can only go so far at removing real artifacts. Attempting to remove chrominance has changed the distracting yellow into an unpleasant but less obvious brown-yellow, but we’re left with distracting signs of a bad edit instead.
I had persevered with RawTherapee’s tooling only out of a stubborn desire to not learn (or have to pay for) additional software. After sulking and returning to the edit the next day, common-sense prevailed and I finally realised that RawTherapee is a great free tool for processing RAW images, but it is not a pixel editor.
After a few minutes of searching I had downloaded Canva’s rather popular Affinity editor, and exported an unbelievably large TIFF from RawTherapee to work with. A few minutes after that, my old Photoshop muscle had kicked in and I’d been able to completely remove the yellow flag I had been having nightmares about almost trivially:
- Clone Brush to crudely paint the surrounding brown colours over the yellow flag
- Blend the area with the quite frankly magic2 Inpainting Brush
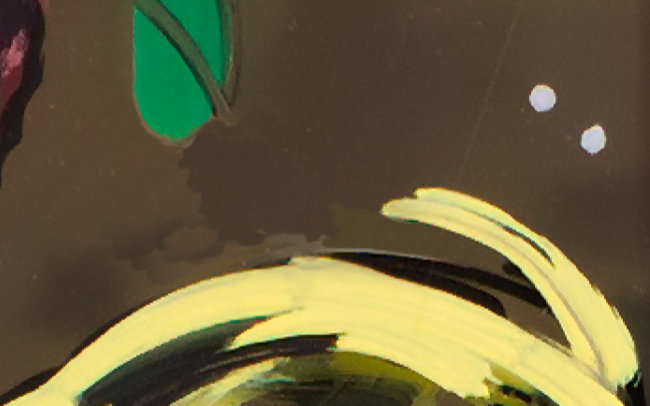
I’ve collapsed the yellow flag into a singularity by pulling the background towards its centre with the Clone Stamp tool.
This was so effective I decided to apply this systematically to all the bunting around Alice’s head. I also took the opportunity to give the other distracting features that I had reduced the highlights of in RawTherapee an additional once over on the pixel level:
- Select remaining areas of bright reflections with the Selection Brush, and lower their Exposure via an Adjustment Layer
- Blur the edges of the chairs and tables in the reflection with the Inpaint tool to render them indistinct
Reflecting#
I like the frame-in-frame that the window provides, and the contrast of these bold colours against the black window and yellow stone. Looking at it once more with fresh eyes, I may have overcooked the saturation a little, but at the time I was going for an almost comic book look with those strong colours and black outlines.
The first export from RawTherapee was good but I’m glad I had the willpower to remove those distracting elements from around Alice’s head and further reduce the brightness of the internal furniture. Both Alice and the flamingo now stand out more distinctly inside the window frame and I find my eye is drawn into the negative space between Alice and the flamingo, rather than darting around at the various bits of environmental noise.
I’m really happy with how this has come out and excited to share it as the first image from my new kit. I’ve learned two important lessons from this one:
- Compose with composure: If I had stopped and taken a moment to actually compose this photo, I would have been able to simply stand somewhere else to frame the shot and saved myself from having to edit the distractions out in the first place. I’ve spent a lot more time correcting this image than it would have taken to shoot it right, and this post would have been much shorter.
- Use the right tool for the job: RawTherapee has a huge array of tools for processing a RAW into a workable image. If you want to make more material changes to what is in that image, that’s the job of a pixel editor. I wasted a lot of time trying to apply all sorts of Selective Edit trickery, whereas Clone Stamping and Inpainting took a steady hand and a few minutes.
Next time I’ll try to be more intentional!